Why Is My Hard Drive Full? Common Causes Explained
Why Is My Hard Drive Full? Common Causes Explained
PC Maintenance
Jul 19, 2025
Uncover the hidden causes of a full hard drive and learn effective strategies to reclaim your storage space for smoother system performance.
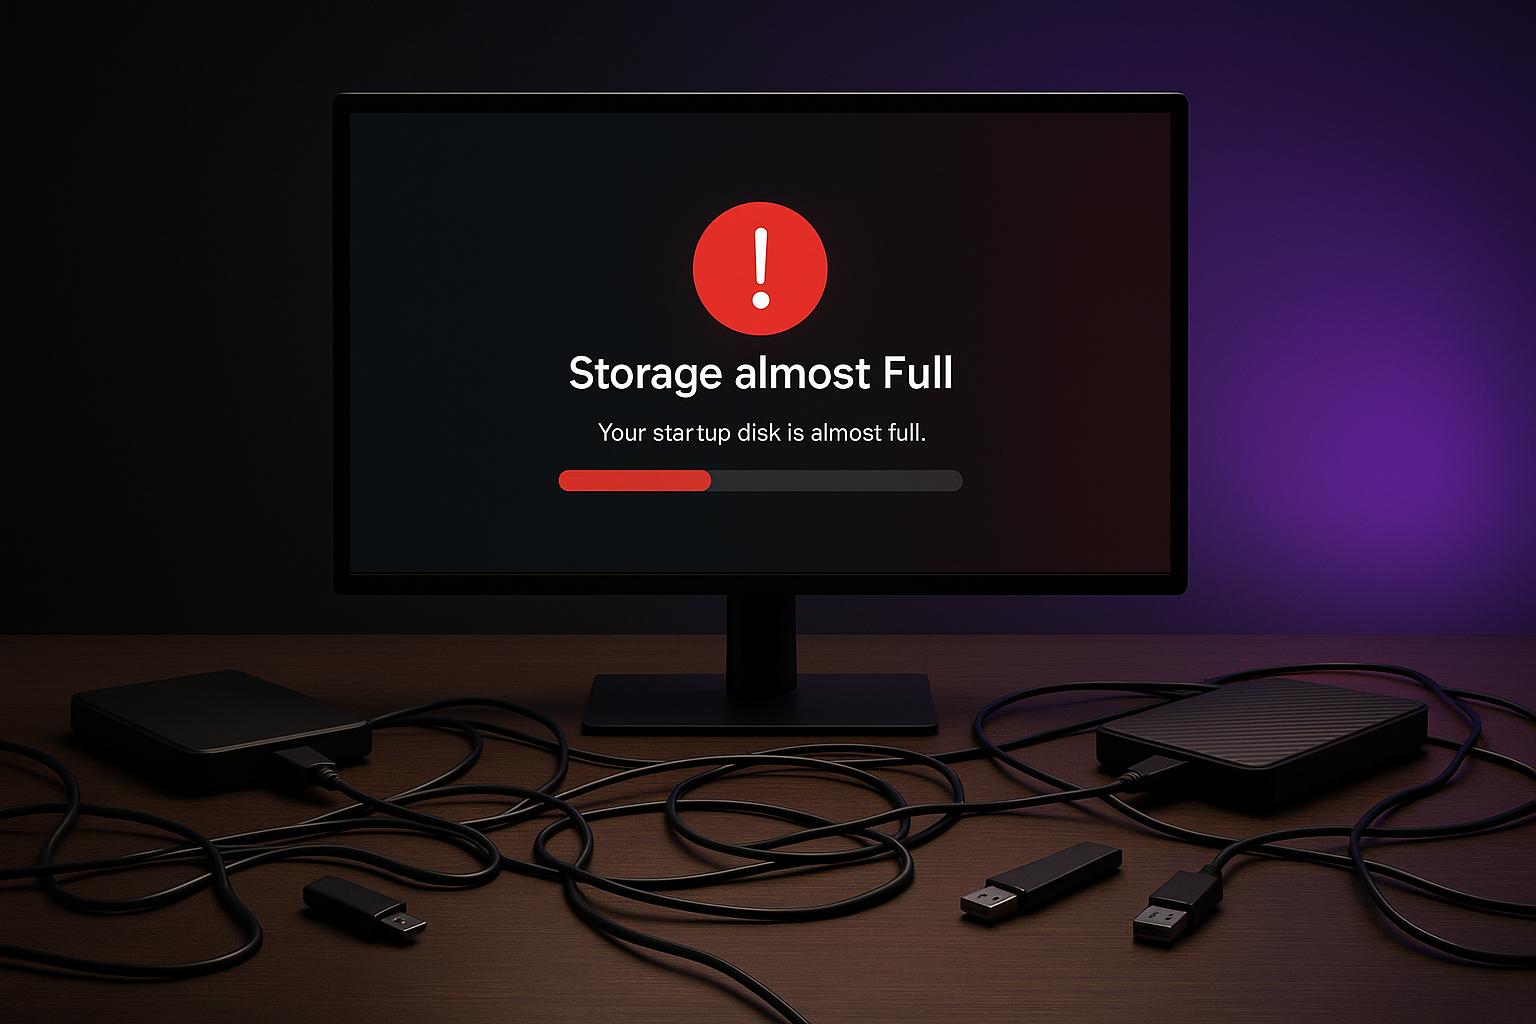
Ever wondered why your hard drive keeps running out of space? It’s often due to overlooked culprits like duplicate files, temporary system clutter, old backups, or even malware. These issues not only eat up storage but also slow down your computer and disrupt performance.
Here’s what might be filling your drive:
Duplicate Files: Redundant copies of photos, videos, or documents can pile up, wasting space.
Temporary/System Files: Cache, logs, leftover update files, and temp data often go unnoticed.
Hidden Large Files: Old Windows installations or system restore points can consume gigabytes.
Outdated Backups: Automatic backups can accumulate, taking up significant storage.
Malware or Errors: Malicious files or system glitches can create hidden storage hogs.
To fix this, start by identifying what’s using your space. Use tools like File Explorer, Disk Cleanup, or third-party apps to locate and delete unnecessary files. Regular maintenance, automated cleanup schedules, and malware scans can help prevent future storage issues. Keeping at least 10-15% of your drive free ensures smoother system performance.
Why Hard Drives Fill Up
Knowing what’s taking up space on your hard drive is key to keeping your system running smoothly. Over time, storage can fill up for several reasons - some of which might not be immediately obvious. Let’s break down the most common causes.
Duplicate Files
Duplicate files are a sneaky source of wasted storage. They can pile up from accidental copies, multiple downloads, or redundant backups. Studies suggest that about 20% of files on a typical PC or Mac are duplicates, especially for users with extensive collections of photos, music, or videos [3]. For instance, if you have a 4GB movie file and inadvertently make three copies, you’re suddenly using 12GB of space unnecessarily. Multiply that by dozens or even hundreds of files, and the waste adds up quickly.
Temporary and System Files
Temporary files are created by your operating system and various applications, but they don’t always get deleted when they’re no longer needed. These files include browser caches, application logs, leftover Windows update files, and temporary installation files. For example, your web browser alone can store gigabytes of cached data, while remnants of system updates can linger, taking up space long after the updates are applied.
Hidden Large Files and Folders
Some of the biggest space hogs on your hard drive might not even be visible during normal use. System restore points and old Windows installations are prime examples. For instance, after a major Windows update, you might find a "Windows.old" folder that’s eating up gigabytes of space [2]. Similarly, restore points can accumulate over time, quietly shrinking your available storage.
Old Backups
Outdated backups are another major culprit. Many users set up automatic backups and then forget about them, allowing old files to pile up. These might include system image backups, file history backups, or backups from third-party tools. A single system image backup can easily take up 50–100GB, and if you’re keeping backups weekly for months, the total storage usage can quickly climb into the hundreds of gigabytes.
Malware and File System Errors
Sometimes, mysterious disk space issues are caused by malware or file system errors. Certain types of malware generate large files or duplicate existing ones as part of their activity. Meanwhile, file system errors can lead to "lost clusters" or orphaned files that don’t show up in normal file directories. Both can result in hidden files taking up significant storage and making your system report inaccurate disk usage [2].
How to Find What's Using Your Space
Figuring out what’s hogging your storage is step one. Now, let’s dive into how you can quickly locate those space-consuming files using some handy tools and techniques.
Disk Analysis Tools
Disk analysis tools can give you a clear picture of what’s filling up your drive. For example, Diskify uses AI to analyze your storage and presents the data in a sunburst chart. It even has a natural language search feature to help you zero in on large, space-eating files.
These tools can uncover storage issues you might not notice during regular file browsing. You could find, for instance, that old system restore points or outdated project folders are taking up a big chunk of space. If you’d rather stick to what’s already on your system, Windows has built-in options worth exploring.
Windows Built-in Utilities
Windows provides several tools to help you manage storage without needing additional software.
File Explorer: Open "This PC", switch to the Details view, and sort files by size. This is a simple way to check common storage-heavy folders like Videos, Music, Pictures, and Downloads [1].
Storage Settings: Go to Settings > System > Storage to see a breakdown of files by category [5]. The "Cleanup recommendations" feature highlights temporary files, large or unused files, cloud-synced items, and apps you can safely delete [1].
Disk Cleanup: Search for "Disk Cleanup" in the taskbar, select your drive, and let it scan for temporary files, system cache, old Windows updates, and other removable clutter [1]. While it doesn’t show individual large files, it’s excellent for clearing unnecessary system-generated data.
If you need even more detailed insights, you can roll up your sleeves and investigate manually.
Manual Investigation
When automated tools fall short, a hands-on approach can help you uncover hidden files or better understand what’s eating up your storage.
Start by enabling hidden file viewing through Folder Options. For advanced users, the Command Prompt offers powerful tools to list large files or explore specific directories [4]. This can be especially useful for finding orphaned files or checking folders you suspect might be bloated.
The key to manual investigation is staying organized. Begin with user profile folders like Documents, Pictures, Videos, and Downloads. Then, check program installation directories and finally dig into system folders. By following this systematic approach, you’ll ensure no major storage hogs go unnoticed while building a complete understanding of your disk usage.
How to Free Up Disk Space
If your system is running low on storage, don’t worry - there are plenty of ways to reclaim disk space and get things running smoothly again. Here’s how you can tackle the issue step by step.
Remove Duplicate and Unnecessary Files
Duplicate files are a common culprit when it comes to wasted storage [6]. Thankfully, Windows offers built-in tools to help locate and remove them.
File Explorer is a simple way to find duplicates. You can search for specific file types like .jpg or .mp3, sort the results by name, and manually delete any duplicates you find [6]. Here’s a quick reference for common file types:
File Type | Extensions |
|---|---|
Images | .jpg, .jpeg, .png, .gif |
Videos | .flv, .mov, .avi, .wmv, .mp4, .3gp |
Music | .mp3, .wav, .wma |
Microsoft Word | .doc, .docx |
Microsoft Excel | .xls, .xlsx |
PDF files |
For those comfortable with advanced tools, PowerShell scripts can pinpoint duplicates using hash values. This method is particularly effective when dealing with large numbers of files spread across multiple folders [6].
Once you’ve tackled duplicates, turn your attention to temporary files.
Clean Temporary and System Files
Temporary files can quietly eat up gigabytes of storage [9]. These files often have a .TMP extension and are typically stored in the C:\Users\AppData\Local\Temp folder [9].
The Disk Cleanup tool is a tried-and-true method for clearing temporary files. Run it as an administrator, then select "Cleanup System Files" for a deeper clean [8].
Alternatively, use the Temporary Files menu in Windows Settings. Navigate to Settings > System > Storage > Temporary Files, select the file types to delete, and click Remove [9]. Be cautious not to delete your Downloads folder if you still need those files.
For a more hands-off approach, enable Storage Sense in Windows settings. This feature automatically deletes temporary files on a schedule you set - whether daily, weekly, monthly, or when your storage is running low [9].
Use AI-Powered Tools
AI-powered tools can take your cleanup efforts to a whole new level by offering personalized recommendations based on your system’s storage habits. One standout option is Diskify, which uses AI to analyze your storage patterns and present the data visually through a sunburst chart. Its natural language search feature makes it easy to locate large or unnecessary files with simple queries.
Diskify goes beyond basic file detection. It categorizes files logically and provides cleanup suggestions tailored to how you use your system. This reduces the risk of deleting something important while helping you recover as much space as possible [7]. Additionally, these tools can identify duplicate files, large files, and even similar photos automatically, saving you time and effort [7].
Scan for Malware and Fix Disk Errors
Sometimes, malware or system errors can create unnecessary files that hog storage space. Running an antivirus scan can help detect and remove malicious files.
Use Windows’ built-in chkdsk utility to identify and fix file system errors. Open Command Prompt as an administrator and run the command chkdsk C: /f /r. This process checks for errors and attempts repairs, often recovering space taken up by corrupted file entries or bad sectors.
File system errors can also leave behind orphaned files - files that serve no purpose but still take up space. Regular error checks can prevent these issues and keep your storage running efficiently.
Review and Manage Backups
Backups are essential, but they can quickly consume storage if left unchecked. Start by reviewing both local and cloud backup locations and deleting any outdated files.
System Restore points are another common source of clutter. While these snapshots are useful, they can pile up over time. Head to System Properties > System Protection to review and delete older restore points, keeping only the most recent ones.
If you have large backup files, consider moving them to external drives or cloud services. This not only frees up space on your primary drive but also ensures your data stays safe. Additionally, check for local cache files created by cloud backup services - these can often be removed without affecting your cloud-stored data. Regularly revisiting your backup strategy can help you avoid storing multiple copies of the same information unnecessarily.
How to Prevent Future Disk Space Problems
Keeping your system's storage in check is all about staying ahead with regular maintenance and monitoring. A little proactive care can go a long way in ensuring your system runs smoothly.
Regular Disk Analysis
Make it a habit to monitor your disk usage. Aim to keep at least 20% of your disk space free - this helps maintain faster boot times and efficient file transfers [10]. When your drive gets too full, your system can slow down noticeably.
A good way to stay on top of this is by setting up a monthly routine to review your storage. Tools like Diskify make this easier by offering AI-powered insights into your storage patterns. With features like semantic folder categorization, you can quickly identify which files or folders are hogging the most space.
Don’t forget to check your drive’s health as part of this routine. Regular assessments can help you catch potential issues early, reducing the risk of unexpected failures. Here’s a quick checklist for your monthly disk analysis:
Check available space
Review your largest folders
Scan for any drive health issues
Automated Cleanup Schedules
Once you’ve got a monitoring routine in place, automation can take over the heavy lifting. Use tools like Windows Storage Sense to automatically delete temporary files, empty your recycle bin, and clear out old downloads. You can customize the schedule to suit your needs, ensuring your drive stays clutter-free without constant manual intervention.
For more advanced options, consider AI-based tools that adapt to your storage habits, offering tailored recommendations to free up space. And don’t forget to automate your backups. By scheduling regular backups, you can avoid the buildup of outdated files while keeping your data safe and organized [10].
Update Software and Security
Unused programs can be a hidden drain on your disk space. Uninstall those you no longer need to get rid of their associated cache files and logs. For large files that you want to keep but don’t need immediate access to, move them to external drives or cloud storage. This simple step can significantly reduce clutter [10].
Conclusion
A full hard drive doesn’t have to be a long-term headache. The usual suspects - duplicate files, temporary system clutter, hidden large folders, outdated backups, and even malware - can be tackled with a clear, step-by-step plan. Start by using disk analysis tools to figure out what’s eating up your storage, then focus on clearing out the biggest offenders to quickly free up space.
But clearing space is only half the battle. To keep your storage in check, regular upkeep is key. Automate cleanup tasks, stay on top of software updates, and make a habit of running disk analyses. Tools like Diskify can lend a hand with AI-powered insights, helping you spot and resolve storage issues before they become a problem. With a little effort, you can keep your hard drive running smoothly and avoid future storage headaches.
FAQs
What’s the best way to find and delete duplicate files on my hard drive?
To clear up space on your hard drive by removing duplicate files, you have a couple of options. One approach is to use specialized software tools. These programs are designed to scan your storage, spot duplicate files, and safely delete them - saving you both time and effort.
If you'd rather not use software, you can take the manual route. Open File Explorer, sort your files by name or size, and go through them individually to find duplicates. However, this method can be time-consuming and tedious. For a faster and more accurate solution, automated tools are usually the way to go.
How can I set up automated cleanup schedules to keep my hard drive from filling up?
To keep your hard drive free of clutter, you can automate regular cleanups using tools like Task Scheduler on Windows. A handy option is setting up Disk Cleanup (cleanmgr.exe) to run on a schedule.
Start by creating a custom cleanup configuration with the /sageset:n command. This lets you choose specific file types to remove, like temporary files or system files. Once that's done, you can use Task Scheduler to run the /sagerun:n command at regular intervals, such as monthly or quarterly. This way, your hard drive stays tidy without needing constant attention.
It’s a good idea to revisit your cleanup settings from time to time to make sure they still align with your storage requirements.
How can I check if malware or file system errors are causing storage problems on my computer?
If you think malware might be behind your hidden storage problems, the first step is to run a full virus scan. Use Windows Security or a reliable anti-malware program to detect and eliminate any harmful files that could be hogging your storage space.
For file system errors, try the built-in System File Checker (SFC) tool. Open Command Prompt and run the SFC /scannow command to identify and repair corrupted system files. Additionally, the CHKDSK utility can scan your drive for errors and fix them. Both tools are effective at addressing hidden storage issues linked to system corruption.
Related posts
Diskify

© 2025 Prism19 Inc. All rights reserved.
All media logos are the intellectual property of their respective copyright and/or trademark holders.
Diskify® is a registered trademark of Prism19 Inc.
Diskify
© 2025 Prism19 Inc. All rights reserved.
All media logos are the intellectual property of their respective copyright and/or trademark holders.
Diskify® is a registered trademark of Prism19 Inc.